

Every bag has a purple lining
We made a skirt, too. I will post a photo after I hem it. It has lizards on it!

Fabric selection - 1/2 yard of lovely purple silk.
You don't need too much fabric - only 1/2 yard for a medium-sized bag. The width of the fabric should be at least the width of the purse plus three or four inches. The height of the fabric should be equal to twice the height of the bag, plus the depth of the bag, plus three or four inches.
Important concept: Using the bag itself (rather than measuring and transferring measurements to the fabric) eliminates several measuring steps and reduces the risk of measuring incorrectly.

Measuring the fabric - fold it around the bottom of the bag.
To cut the fabric to the correct height, spread it out on the table. Place the bag on top of the fabric, aligning the top of the bag an inch or two below the top edge of the fabric. Fold the bottom of the fabric up over the bag. Mark the fabric with pins an inch or two above the top edge of the bag. Trim fabric at the pinned line.
Important concept - you want the lining to be a bit larger than the inside of the bag. If it is smaller than the inside of the bag, the lining will pull on the top edge of the bag when it is weighted down.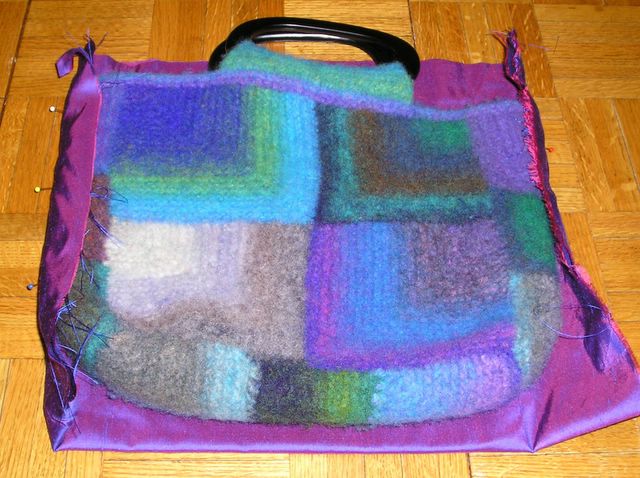
Measuring for width - wrap fabric around and poke pins in the sides.
To determine where to sew the side seams, fold the fabric in half, right side in, and center the bag on top. Wrap the edges of the fabric up around the sides of the bag, and poke several pins in each side to indicate the mid-point of the edge. Carefully unpin the bag from the fabric, leaving the pins in place to indicate seam lines.
Important concept - using the outside of the bag for measurement ensures that the lining will be slightly larger, but not too much larger, than the inside of the bag.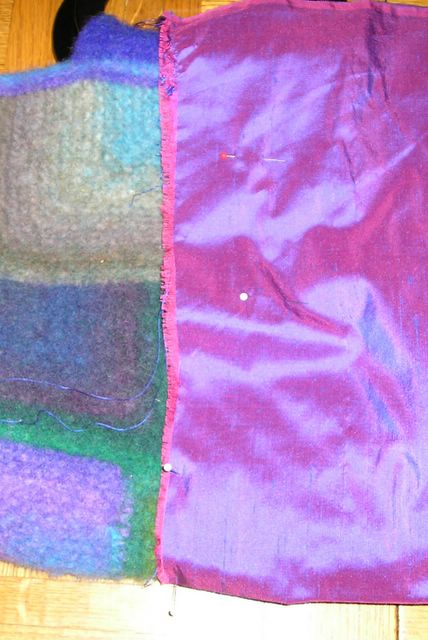
Measuring for height - place fabric on top of bag, aligning the bottom fold with the bottom of the bag. Mark where the bottom meets the side of the bag.
The bottom of the bag will be formed by pleating the edges of the fabric. To determine where the pleats should begin, lay folded and pinned fabric on top of the bag, aligning the bottom of the bag with the bottom fold of the fabric. Find the point where the bottom of the bag meets the side of the bag, and mark this point with a pin on both edges of the fabric.
Important concept - this is only necessary if your bag has a bottom. If your bag is just two flat pieces sewn together, don't bother with the pleats.

Sewing the sides - sew two seams from the top edge to the pin marking the bottom of the bag. Trim sides.
Sew a seam along the pinned lines on both edges of the fabric, stopping at the pins marking the bottom of the bag. Sew another, reinforcing seam 1/8 inch outside the first seam. Trim the edges of the fabric to about 1/2 an inch.
Important concept - don't sew all the way down, or you won't be able to create the pleat that will allow the lining to to have a flat bottom.
Pleat the bottom; sew from both sides to the center.
To form the pleats, open up the unsewn bottom edge, and bring the fold up toward the end of the seam, to form an upside-down T, as shown in the photo above. To ensure that the pleat is centered, poke a pin up through the bottom of the fold to the seam. Pin both sides of the pleat down and seam from each edge of the pleat to the center.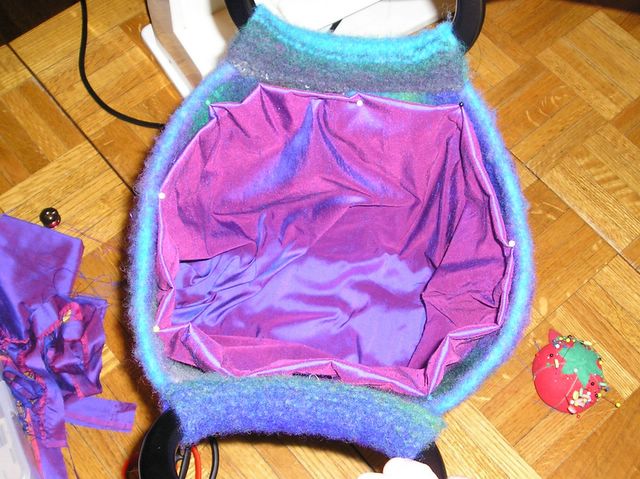
Stuff lining into bag and pin 1/4 inch below top edge.
Insert the lining into the bag, wrong side out. Be sure to really poke it down into the bag and open up the pleats at the bottom. Fold the top edge of the lining out, align the side seams with the sides of the bag, and pin in several places about 1/4 inch down from the top edge of the bag. Before sewing the lining in place, put a heavy object in the bag. If the lining pulls or seems strained, positioned the lining lower in the bag by decreasing the amount of fabric folded around the top edge.
Important concept - the bag, not the lining, should support the contents of the bag.
Sew in the lining with a hem stitch.
Sew in the lining with a matching thread, using a hem stitch. Be sure to catch enough of the felt fabric in each stitch to ensure that the stitch will hold securely.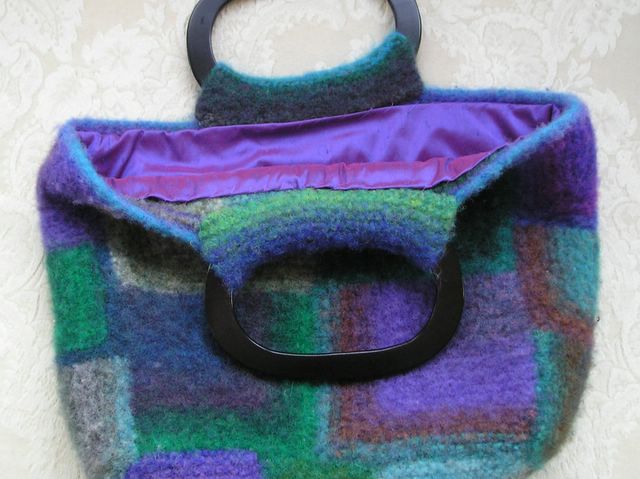
Voila - lining complete!
Nancy, any corrections?
posted by freddyknits at Wednesday, March 30, 2005
![]()
![]()
<< Home